
Authentication
Authentication is handled by node1-auth-service. It supports email/password, Google OAuth, GitHub OAuth, guest login, and API keys.
Email & password
Section titled “Email & password”Configured via Admin. Users register and log in with email via verification code or magic link.
Google OAuth
Section titled “Google OAuth”- Create a Google OAuth client in Google Cloud Console
- In Google Console, add your frontend domain to Authorized JavaScript origins (e.g.
https://your-domain.com) — Google uses popup mode, no redirect callback needed - Log in to Admin → Projects → select your project → OAuth Providers
- Enable Google, paste the Client ID, save
GitHub OAuth
Section titled “GitHub OAuth”Enable “Continue with GitHub” login:
1. Create a GitHub OAuth App
Section titled “1. Create a GitHub OAuth App”- Go to GitHub Developer Settings → OAuth Apps
- Click New OAuth App
- Fill in:
- Application name: Your app name
- Homepage URL: Your app URL (e.g.
https://app.zship.ai) - Authorization callback URL:
https://{your-domain}/auth/callback
- Copy Client ID and Client Secret
2. Configure in Admin Panel
Section titled “2. Configure in Admin Panel”- Log in to admin
- Go to Projects → select your project → OAuth Providers
- Enable GitHub, paste Client ID and Client Secret
- Save
The “Continue with GitHub” button will appear on the login page.
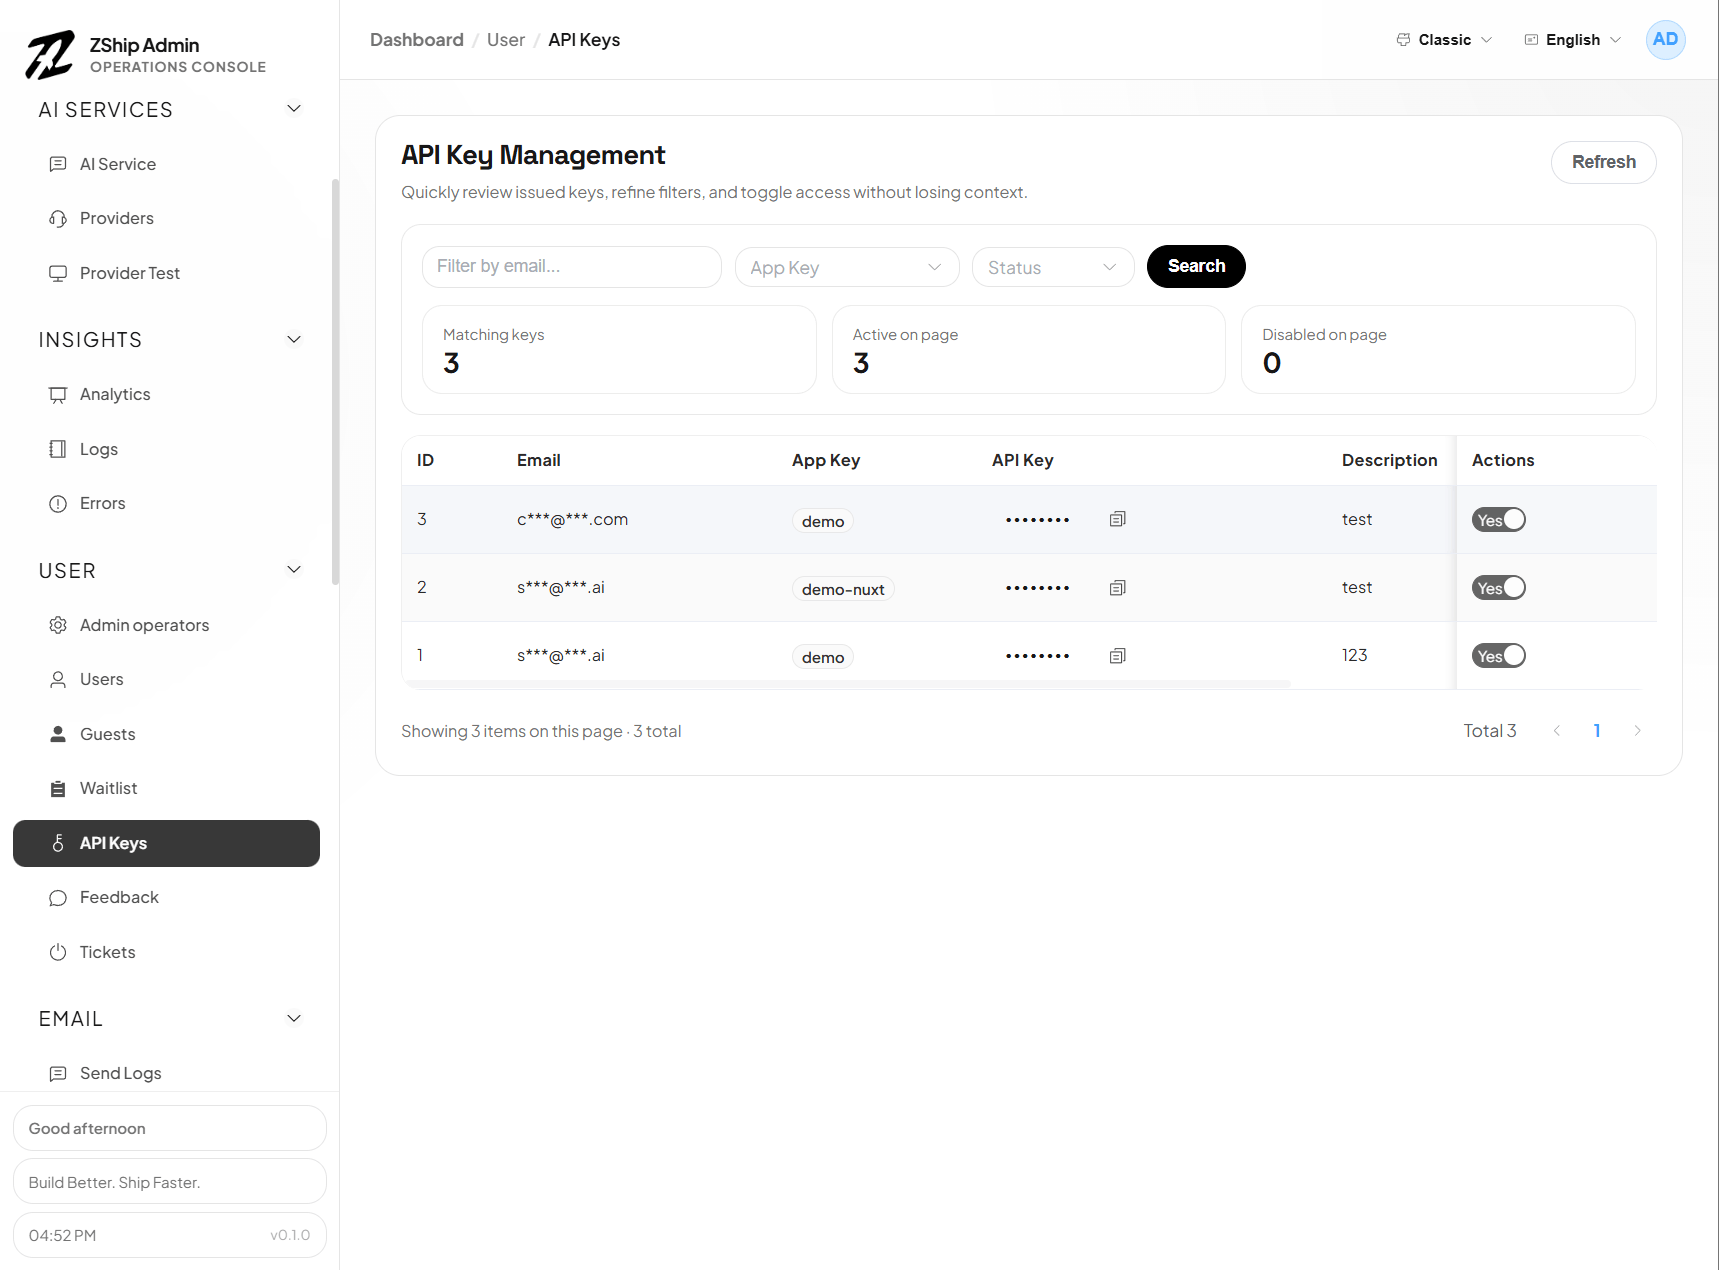
API keys
Section titled “API keys”Users can create API keys in the dashboard. Keys are stored in node1-auth and used for programmatic access (e.g. AI gateway).
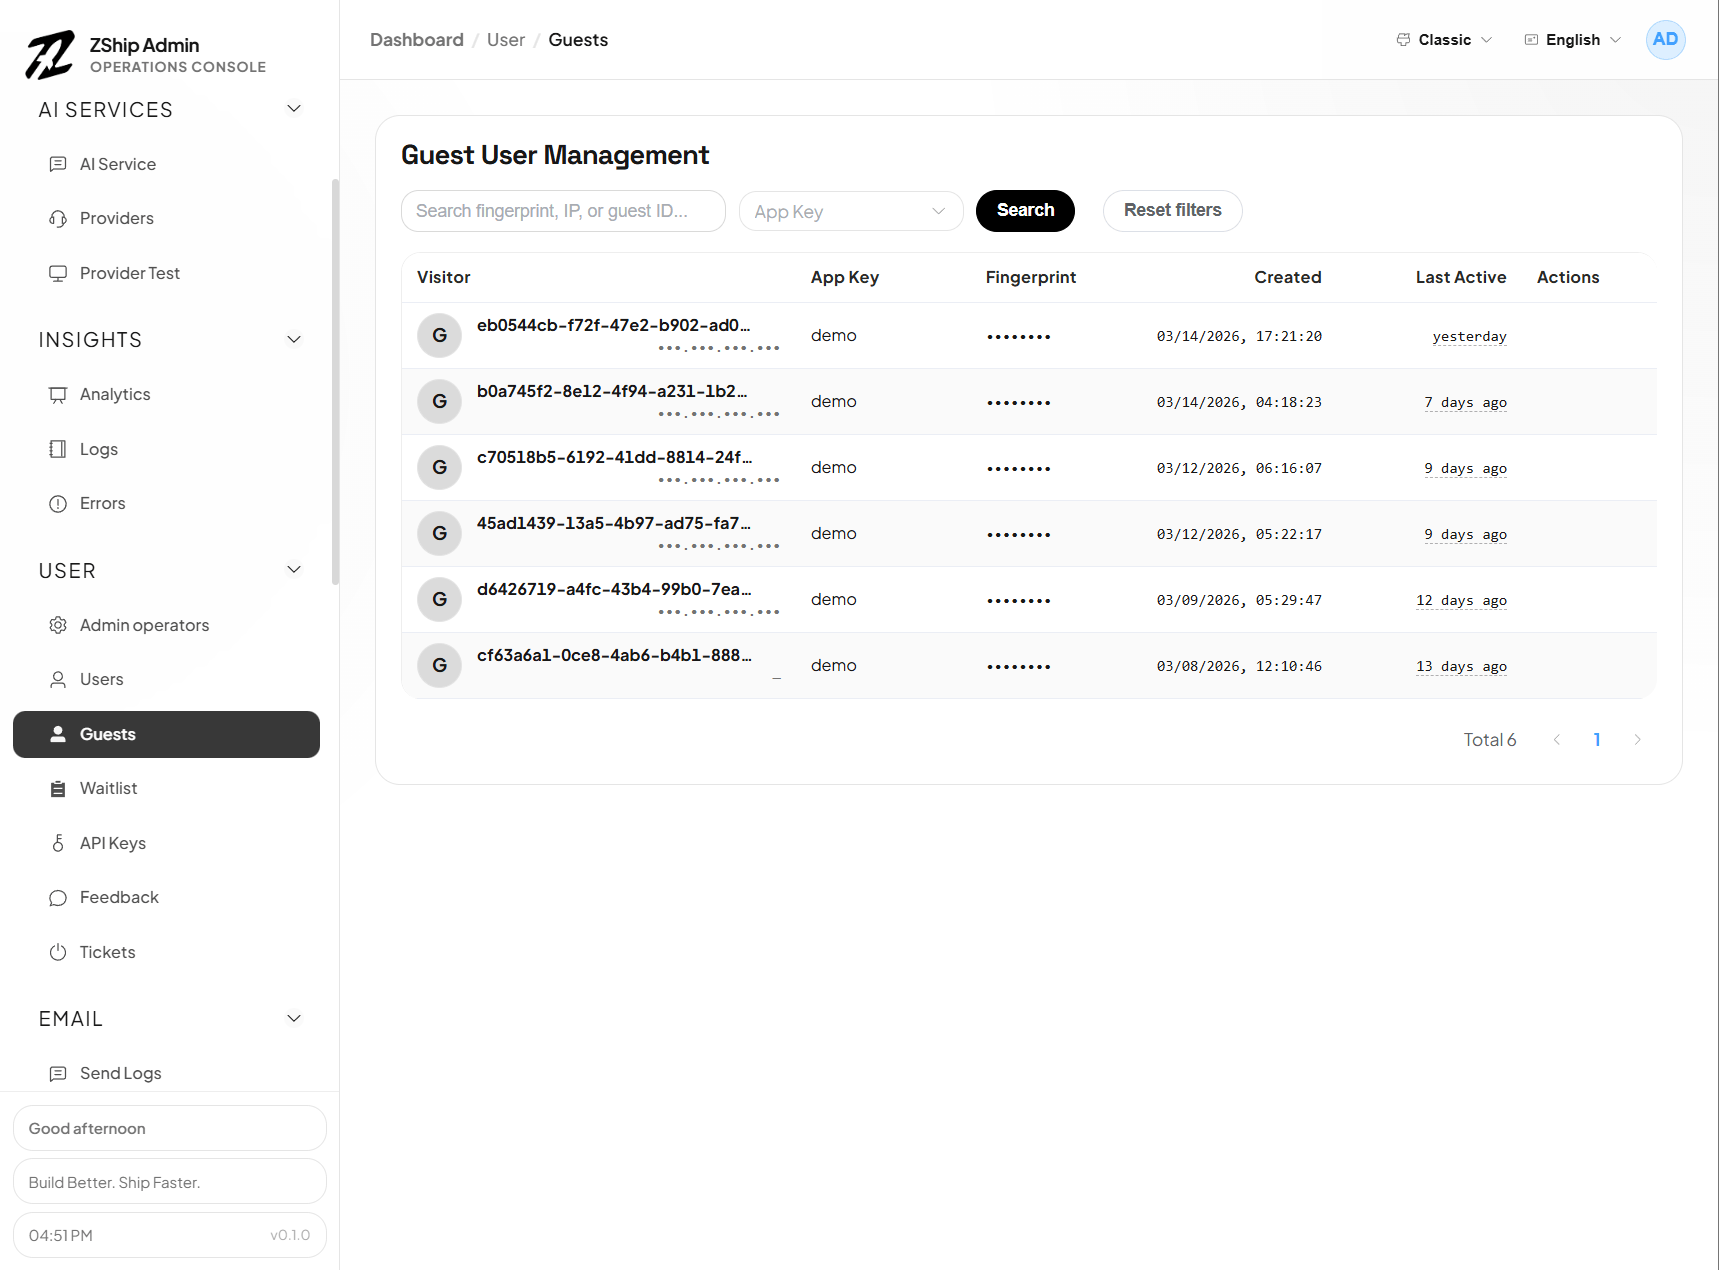
Guest mode
Section titled “Guest mode”Optional guest (anonymous) sessions for trying the product before full registration.
Admin pages
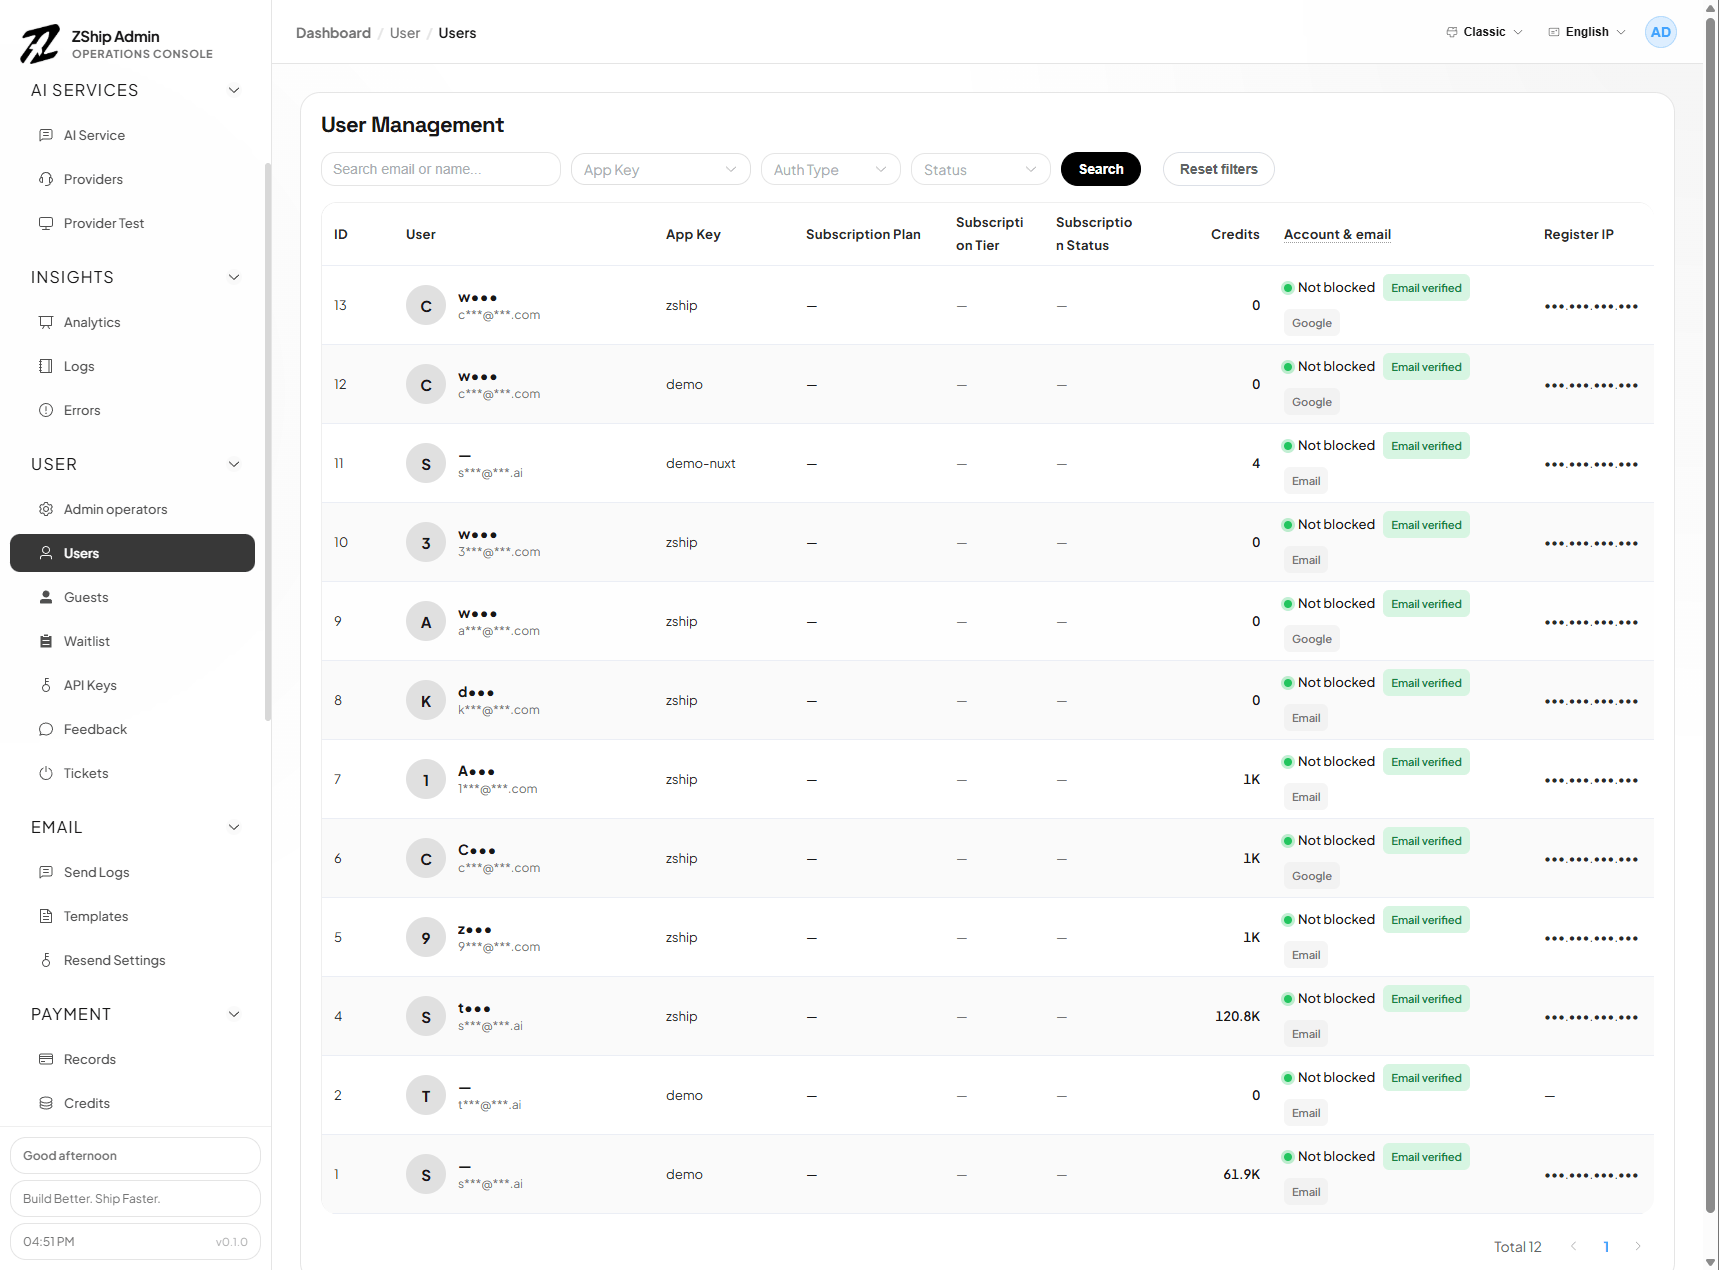
Section titled “Admin pages”- Users (
/users) — User list, credit adjustments - Credits (
/credits) — Credit management